Running an Event
Test with Preview, Simulate and Launch, run the booth full-screen, exit safely with a PIN and monitor the event.
This article covers the event day: testing your event the right way, launching the booth full-screen, what guests go through, how staff get out of the booth safely, and how to keep an eye on things while the event runs.

Chapters (11)
Preview, Simulate and Launch: don't mix them up
Q-Booth has three ways to "run" something, at three different scales. Each one tests something different.
| Mode | Where | What it tests | What it does not do |
|---|---|---|---|
| Preview (F9) | Every page in DESIGN | The look of one page: layout, animations, transitions. | No camera, no template, no session. |
| Simulate (F10) | Camera Page only | The whole capture flow with built-in sample photos: countdown, cue video, flash, several shots, retake, filter strip, auto capture and auto process. | No real camera and no real processing. Pressing Process only shows a notice. |
| Launch (F5) | Event list or Event Editor | A real, complete booth session: real camera, real templates, real results, real printing, QR and email. | Nothing is simulated; results are saved and counted in the report. |
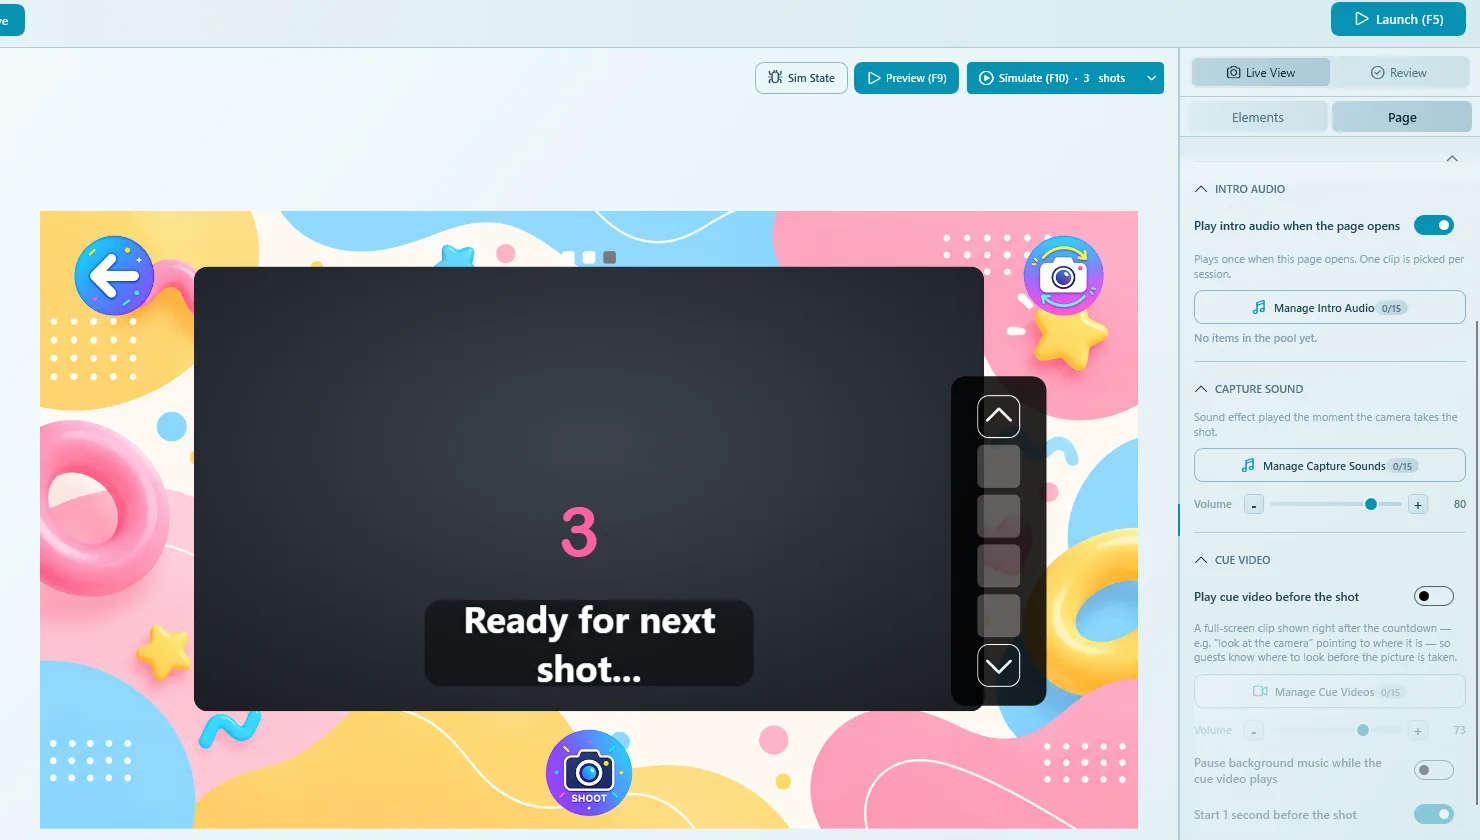
In Simulate (F10) you choose how many shots to simulate (1 shot or 3 shots). Press R to run it again and Esc to close it.
Launch does not need a Save first: it runs whatever is in the editor right now, including unsaved changes. Those changes are not saved by launching. If the test looks good, go back and click Save before you close Q-Booth.
Before you launch
- The event has at least one active template. Launch is blocked with a warning if it has none. See Templates.
- The camera and printer work. See Camera settings and Printer & audio.
- In GENERAL › Settings, the OUTPUT MONITOR is the screen guests will see, and EXIT ACCESS and KEYBOARD CONTROL are set (see below).
- The event is saved and backed up (GENERAL › Manage › Backup). See Backup & export.
- You have done one full test session with Launch, including a print, a QR scan and (if used) a voucher.
The full list is in the Event checklist.
Launch the booth
- Open the event list, or the event in the Event Editor.
- Click Launch (F5), or press F5.
- Wait a moment. Q-Booth prepares the event (cover thumbnail, camera filter previews, and a check of the video files) so the first guest never sees a frozen screen.
- The booth opens full-screen on the chosen OUTPUT MONITOR, and the editor window is minimised behind it. A short hint shows how to leave the booth and open the gallery.
If a booth session is already running, pressing Launch again only brings the running booth to the front. It does not open a second one.
What guests go through
At the booth, a guest moves through these screens in this order. Screens marked "if" only appear when you turned that feature on.
- Welcome Page: the guest taps the start button. This page is also the idle screen between guests.
- Kiosk gate (if Kiosk Mode is on): enter a voucher code or pay with QRIS. See Kiosk, payment & vouchers.
- Survey (if a survey is live): a few questions, one per screen. See Survey.
- Category Picker (if categories are shown as a standalone page; skipped when there is only one category).
- Template Picker: the guest picks a style.
- Camera Page: countdown (if the page has one), capture, then review with retake. Templates with several photos take several shots in a row.
- Input Page (if the template needs typed input).
- Processing Page: the guest waits while the result is made.
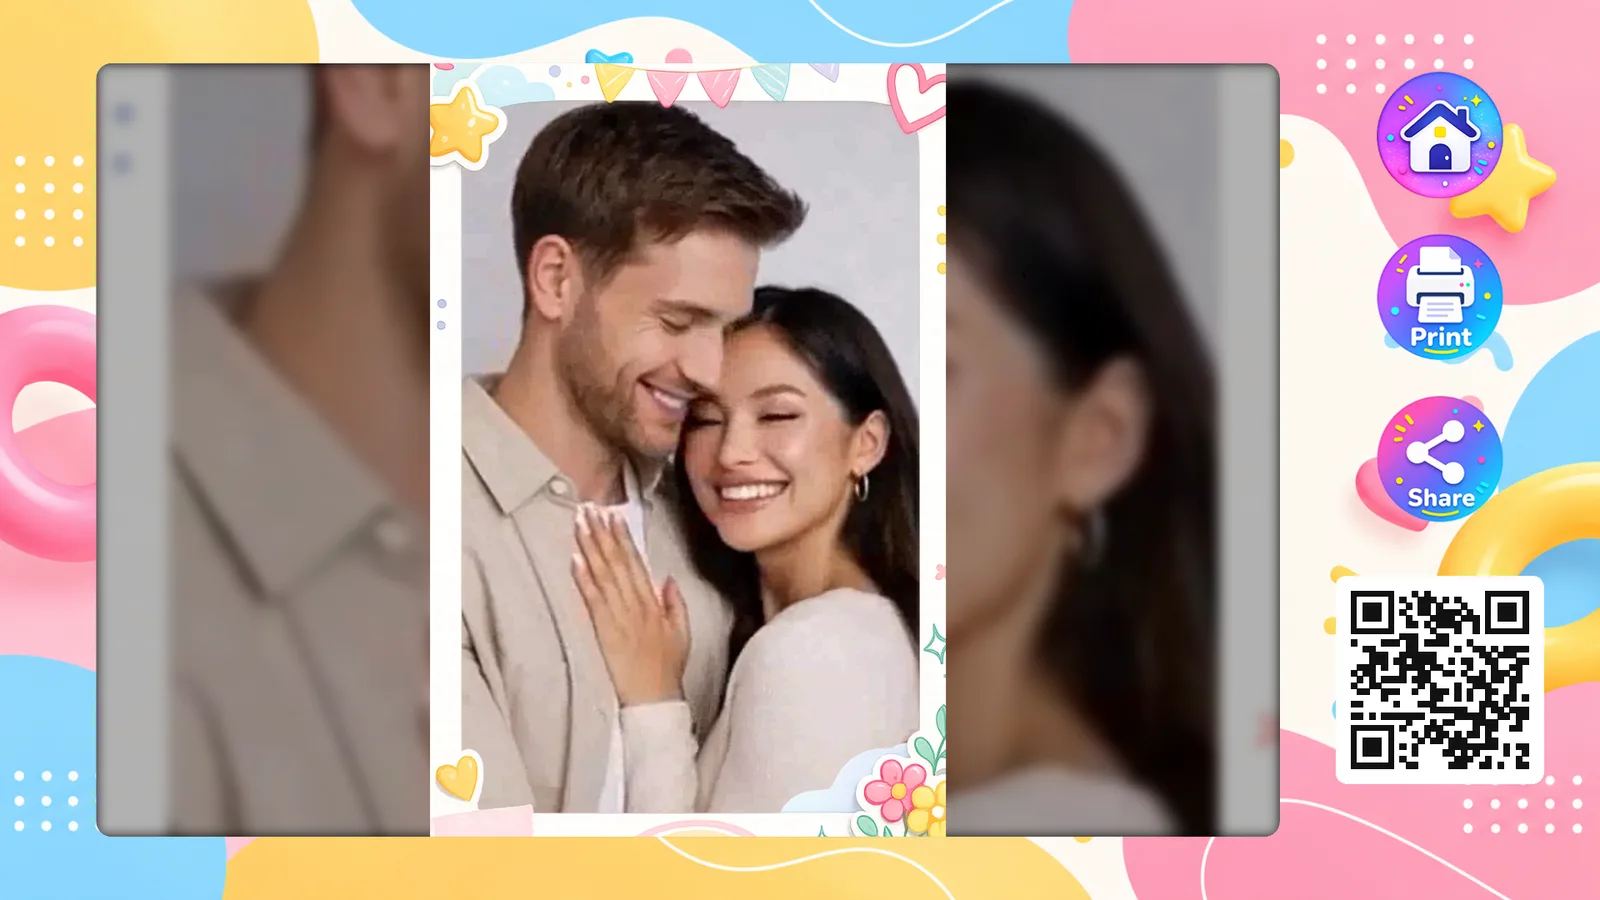
- Result Page: print, scan a QR code, send an email, or start again. The result timer brings the booth back to the Welcome Page for the next guest.
If more than one way of receiving photos is turned on in RESULT DELIVERY, guests choose at the booth how they want to receive their photo. See Sharing & printing.
Exit the booth
To leave the booth and return to the editor:
- Press Shift + F4, or
- double-click (double-tap) the top-right corner of the screen.
Esc does not close the booth. It is disabled on purpose so guests can't leave. Use Shift + F4 or the top-right corner.
Set how staff exit in GENERAL › Settings › EXIT ACCESS:
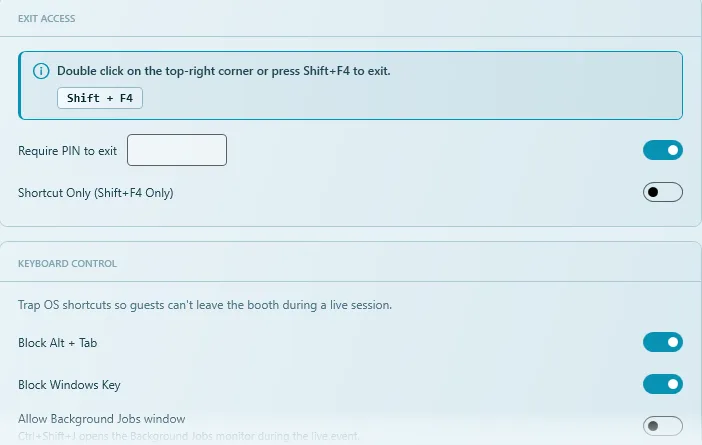
| Option | What it does |
|---|---|
| Require PIN to exit | Asks for the PIN typed in the box beside it before the booth closes. Strongly recommended for unattended or self-service booths. |
| Shortcut Only (Shift+F4 Only) | Turns off the corner double-click, so only the keyboard shortcut works. Useful on touch screens where guests might tap the corner by accident. |
Write the exit PIN down and keep it somewhere safe, away from the booth. Without it, staff cannot leave the booth from the screen.
Keyboard control
In GENERAL › Settings › KEYBOARD CONTROL you can block Windows shortcuts so guests can't leave the booth during a session:
- Block Alt + Tab: guests can't switch to another program.
- Block Windows Key: guests can't open the Start menu.
- Allow Background Jobs window: lets staff press Ctrl + Shift + J during the event to open the background jobs monitor (uploads, logs, processing).
Keys and gestures at the booth
| Key or gesture | Action |
|---|---|
| Shift + F4 / double-tap top-right corner | Leave the booth (may ask for a PIN). |
| Shift + F2 / double-tap top-left corner | Open the event gallery, when allowed (may ask for a PIN). |
| Ctrl + Shift + J | Background jobs monitor, when allowed. |
| A template's own key | Picks that template on the Template Picker. Set it in the template's advanced settings under KEYBOARD SHORTCUT. See Templates. |
The gallery shortcuts are set on the Welcome Page: DESIGN › Welcome Page › Page › Gallery Access, with Secret area (top-left corner), Hotkey (Shift+F2) and an optional Require PIN. The same tab can also put a PIN on Start Session, which keeps the booth closed until staff unlock it. See Page Designer.
Monitor the event while it runs
- Event gallery (Shift + F2): reprint a photo for a guest, show a QR code with all photos of a session, or delete photos that didn't work out. See Gallery.
- Print counter: turn on Show print counter to see the running total on the Print buttons. See Sharing & printing.
- Background jobs (Ctrl + Shift + J, if allowed): check that uploads and emails are going out.
- Report: during a break, leave the booth and open OTHERS › Report to check sessions, prints and the Errors list. See Report.
- Hardware: keep an eye on printer paper and ink, the camera battery, and the internet connection if you use Web QR, email or QRIS.
After the event
- Leave the booth with Shift + F4 (and the PIN).
- Open OTHERS › Report and export the report for your client.
- Copy the Public gallery link from OTHERS › Sharing and send it to your client, if you used Web QR.
- Back up the event in GENERAL › Manage.
Common problems
Esc doesn't close the booth.
That is intended. Use Shift + F4 or double-tap the top-right corner.
Launch shows a warning and does not start.
The event has no templates. Add at least one in CONTENT › Templates.
The booth opens on the wrong screen.
Choose the right screen in GENERAL › Settings › OUTPUT MONITOR, then launch again.
My changes were gone after restarting Q-Booth.
Launch uses unsaved changes but does not save them. Always click Save after a successful test.
I can't leave the booth.
If Shortcut Only is on, the corner double-click does nothing; use Shift + F4. If a PIN is asked, you need the exit PIN set in the event settings.
Guests switched to Windows during a session.
Turn on Block Alt + Tab and Block Windows Key in KEYBOARD CONTROL.
Next steps
Still need help?
Our team answers on WhatsApp. Tell us your Q-Booth version and what you see on screen.