Shoot Now, Print Later: Photographing Every Guest Before the Event Starts
Photograph every guest at check-in and hand out prints on the way out. Use Manual pickup and auto print in Q-Booth, with each guest's name on the print.
Also available in: Bahasa Indonesia · 中文
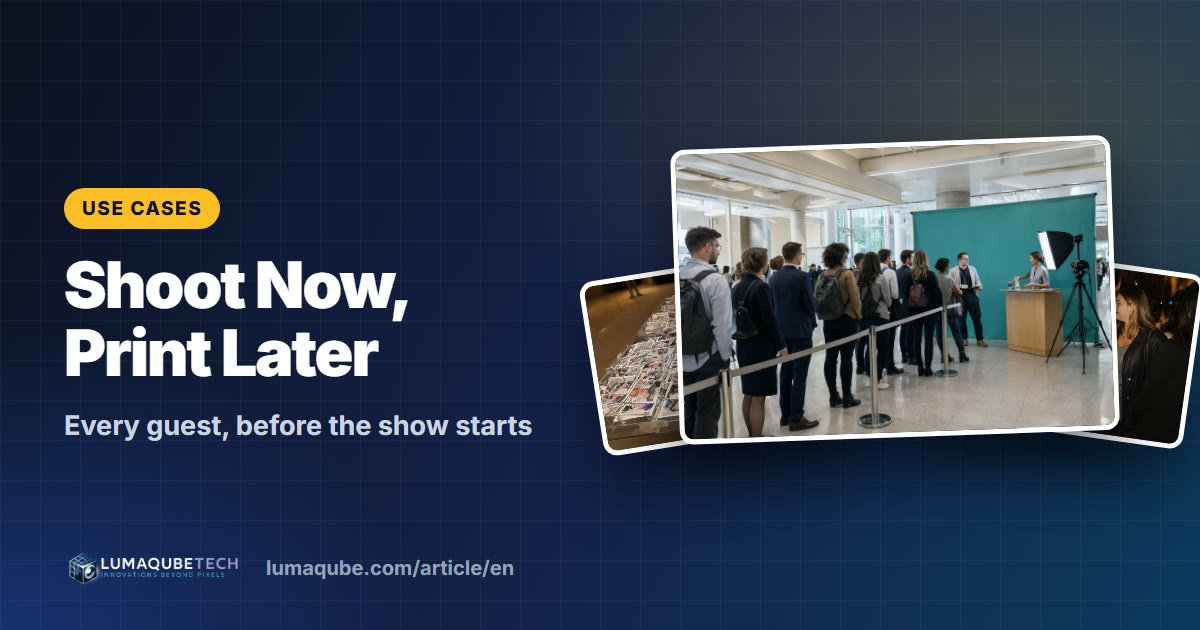
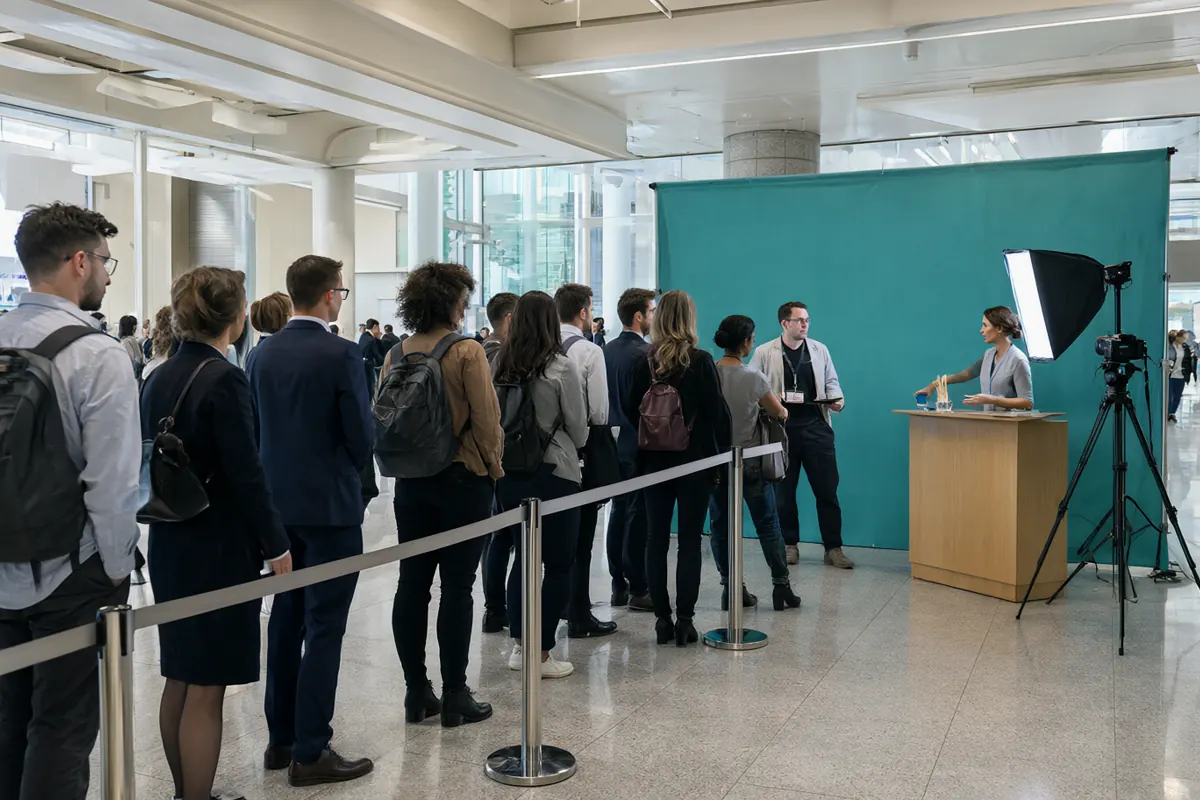
More and more planners and corporate clients ask for this: "Photograph every guest at check-in, before the program starts. They pick up their prints on the way out." The challenge is photographing hundreds of people quickly without a long line, then making sure every print reaches the right person. This guide shows how to run it with Manual pickup and auto print in Q-Booth, how to put each guest's name on their print, and how to size your setup.
When clients ask for "shoot now, print later"
- Conferences and summits: every attendee is photographed at registration and leaves with a keepsake.
- Galas and company parties: guests are photographed during the cocktail hour, before the ballroom opens.
- Weddings: guests pose on arrival and collect their photo at the favor table.
- Proms, graduations and school events: hundreds of students in turn, prints handed out by class.
The key is the same every time: keep the line at the booth moving. Guests don't wait for processing or printing. They pose and walk straight into the event.
How it works in Q-Booth
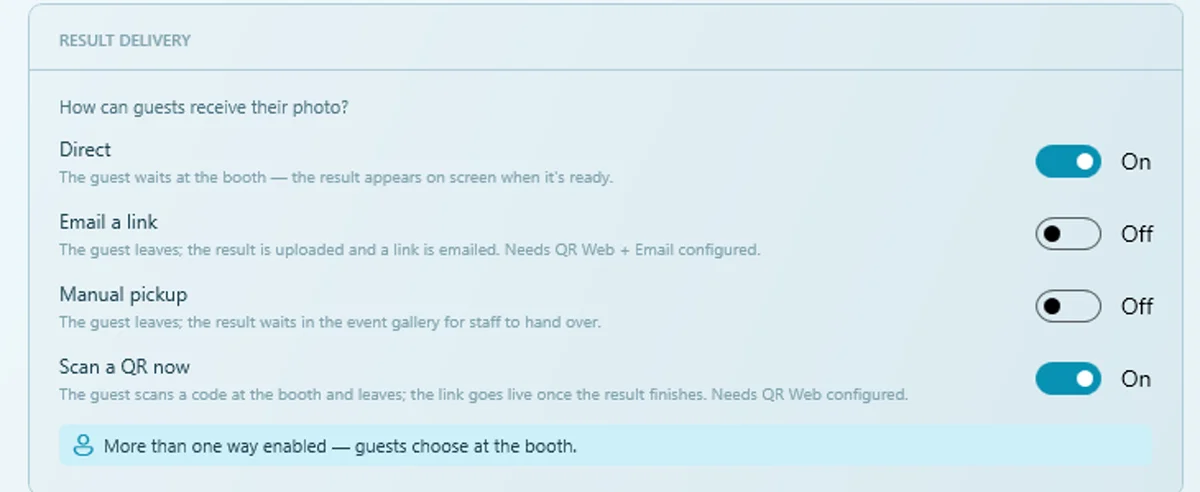
In the Event Editor, open GENERAL → Settings → RESULT DELIVERY and turn on Manual pickup. The guest flow becomes:
- The guest taps Start, (optionally) types their name, and takes their photos.
- The screen shows Your photo is being made and the guest can leave. The booth returns to the start for the next guest.
- Q-Booth makes the result in the background, including slower AI templates, and saves it in the event gallery.
- With Enable auto print (OTHERS → Printing), each result prints as soon as it's ready, including "get it later" results.
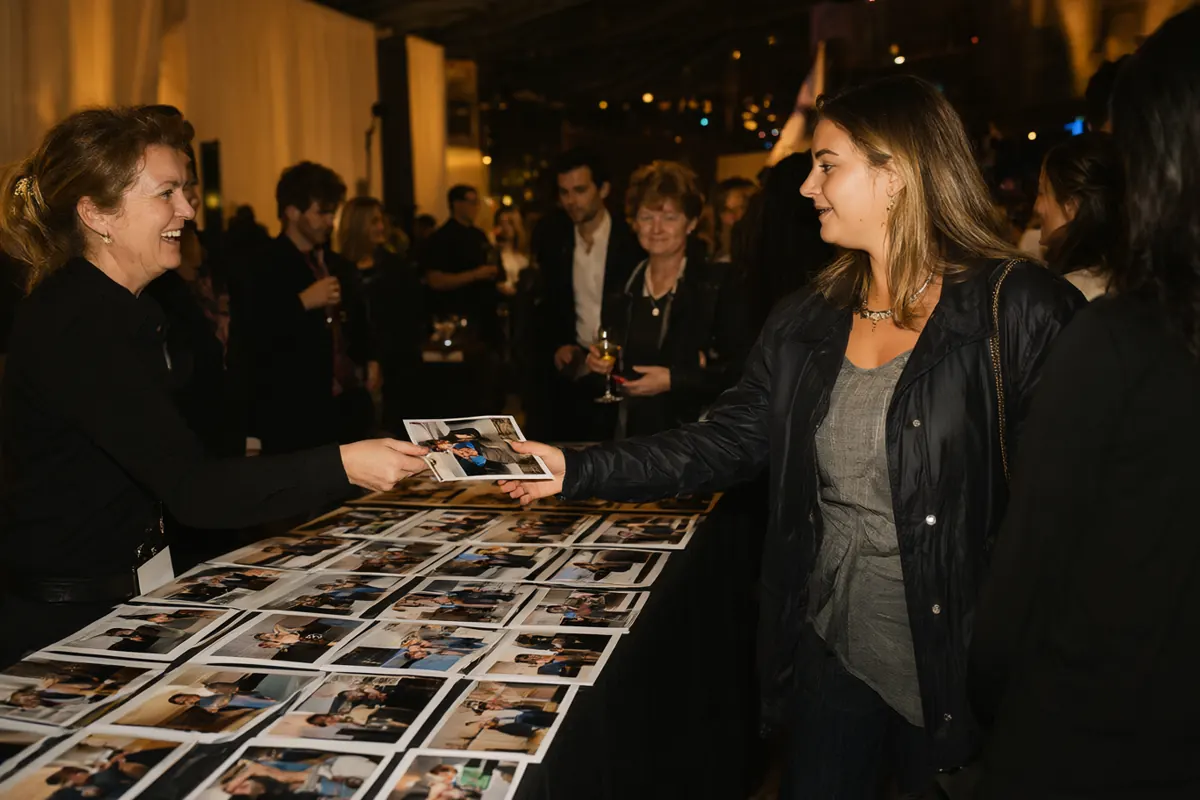
- Staff lay the prints out at a pickup table, ready for guests on their way out.
The trick: the guest's name on the print
Hundreds of unlabeled prints will bury your staff. The fix is in Collage Studio: add a User Input Text layer to the template.
- Set the Prompt text, for example "Your name?". It appears at the booth before the photos.
- Under How the user answers, choose Type for free text, Pick for a list (table number, company, class), or Both.
- Whatever the guest enters is printed on the photo in the font and color you choose.
- Add a QR Code layer too, so every print carries a link to its digital copy.
With a name or table number on every print, sorting alphabetically or by table takes minutes.
Sizing it: how many booths and printers?
An example for 300 guests arriving over a 60-minute check-in. The per-session times are illustrations, so time your own setup during the test run.
| Item | Assumption | Result |
|---|---|---|
| Sessions | 300 guests, about 3 people per photo | about 100 sessions |
| Time per session at the booth | Typing a name and posing, no waiting for results | about 40 seconds |
| Capacity of one booth | 3,600 s ÷ 40 s | about 90 sessions an hour |
| Booths needed | 100 sessions, with headroom for the rush | 2 booths |
| Print time | Dye-sub printer, about 12 s per 4×6 | about 20 minutes for 100 prints |
| Printers needed | All prints ready before the event ends | 1–2 per booth |
With AI templates, watch the processing time per result. It runs in the background so the line keeps moving, but every print still needs to be done before guests leave. Avg Generate in the event report shows the average.
Running the pickup table
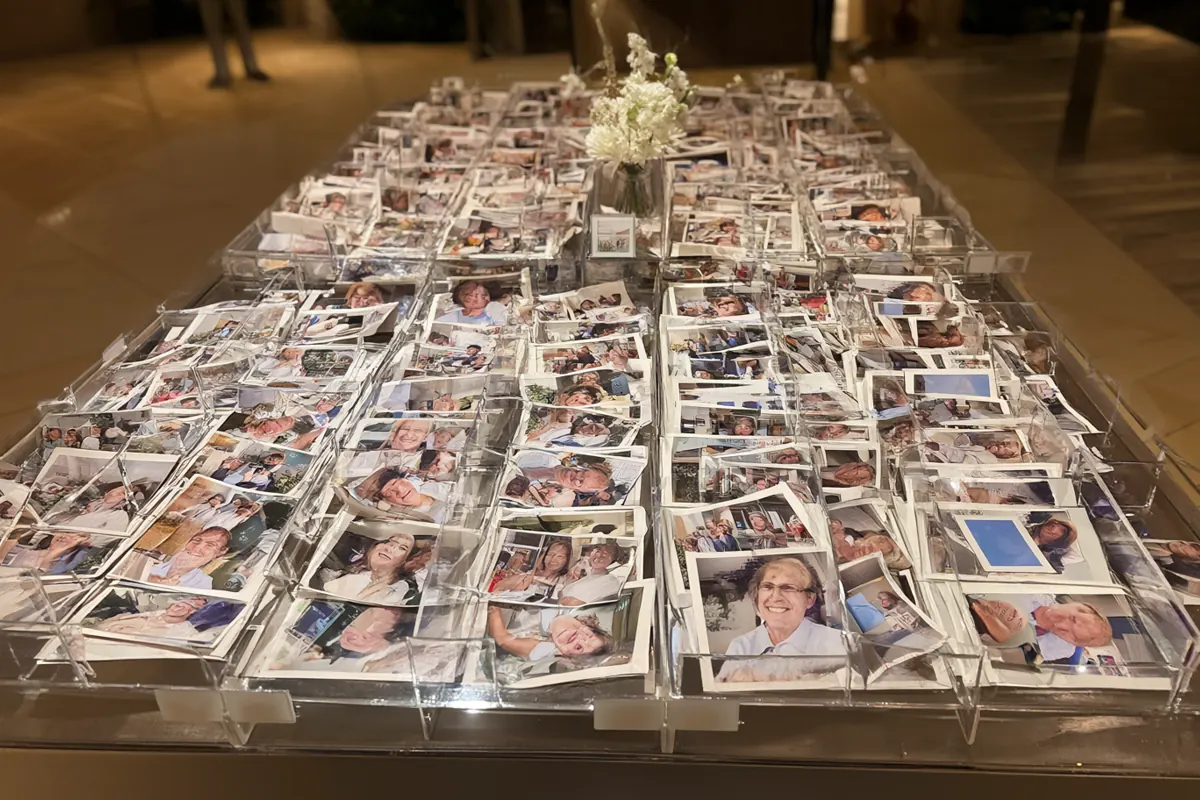
- Use trays or dividers by first letter, or by table number.
- Put the table on the way out and ask the host or MC to announce it at the end.
- Assign one staff member to sort and hand out prints.
- Unclaimed photos stay safe in the event gallery. Staff can reprint, or show a Combined QR through Share, or via Report → Transactions → View Results, even days later.
Combine it with QR or email
Manual pickup can be switched on together with other options. With more than one on, guests are asked How would you like your photo? and choose Get it later, Scan a QR or Email it to me.
- Scan a QR now: the guest scans a code at the booth and leaves; the link works once the photo is ready.
- Email a link: a natural fit for conferences and corporate events. Addresses are kept in the event report. That's personal data: share it only with the client who owns the event, and follow GDPR or your local privacy rules.
Tips from the field
- Test one full flow with Launch before doors open: type a name, pose, walk away, and check the print comes out with the right name.
- Use two printers: Q-Booth sends each print to the least busy one.
- Keep it to one question: every extra question adds time to each session.
- Send the planner a report: Report → Summary → Export HTML lists sessions, prints and emails.
Settings are explained in the Help Center: Sharing & Printing and Collage Studio.
Frequently asked questions
Do guests have to wait for their photo?
No. With Manual pickup they leave right after posing; the photo is made and printed in the background.
What if a guest misspells their name?
The photo is still in the event gallery. Staff can find the session and reprint it or show its QR.
Do reprints count against the print limit?
No. Reprints from the gallery don't count toward print limits; the report lists them separately as Gallery Prints.
Does it work with AI templates?
Yes, and that's where it helps most: slow AI processing never stops the line because it all happens in the background.
Ready to run your own photo booth?
Q-Booth runs photo, collage, video and AI photo booths from one Windows app. Try it free before you buy.
Learn Q-Booth
Step-by-step guides and video tutorials for every kind of booth.