Roaming Photographer with Instant Prints: Automating Event Photos with Q-Booth
Run a roaming photographer service with instant prints: photos land in a folder, Q-Booth Automation Studio frames, prints and adds a QR code automatically.
Also available in: Bahasa Indonesia · 中文
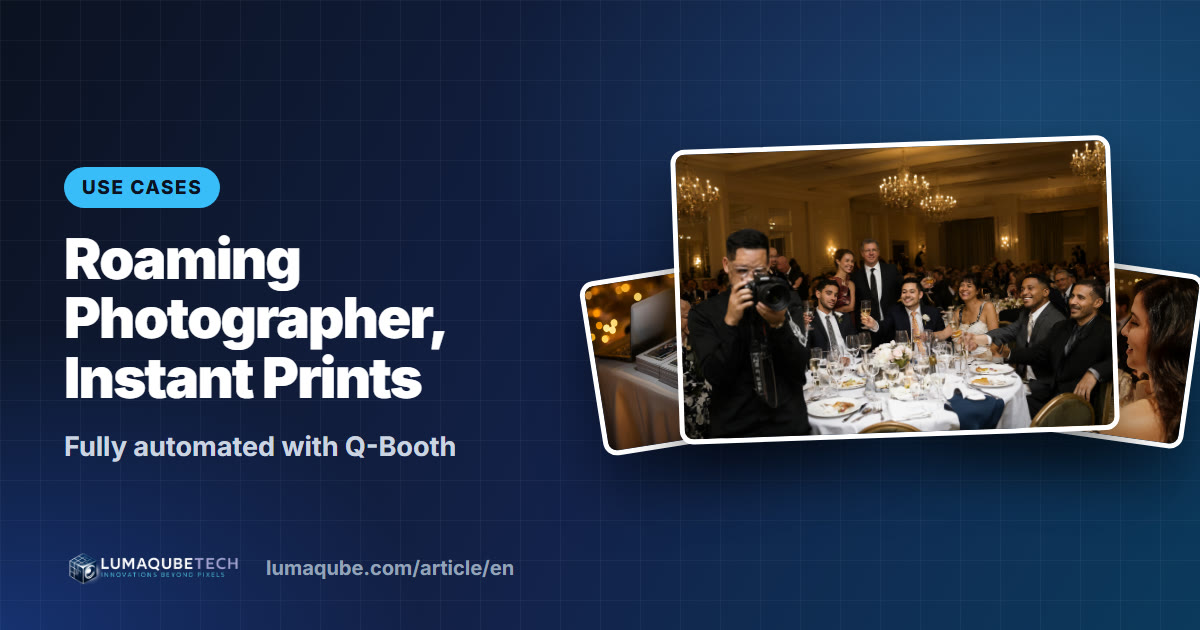
Not every guest walks up to the photo booth. At a seated wedding dinner or a corporate gala, most people stay at their tables all night. That's where a roaming photographer with instant prints shines: the photographer goes to the guests, shoots, and minutes later a framed print arrives at the table, complete with the event branding and a QR code for the digital copy. Here's how to run that service with Automation Studio in Q-Booth, from the workflow and settings to packages you can sell.
When roaming beats a booth
- Seated events: wedding dinners, galas, award nights and fundraisers where guests rarely leave their tables.
- No room for a booth: tight venues, rooftops, gardens and other outdoor spaces.
- Moving events: fun-run finish lines, graduations, ribbon cuttings, plant tours.
- Clients who want candids that feel more natural than poses in front of a backdrop.
- An add-on to your booth: the booth serves the line, the photographer reaches everyone else.
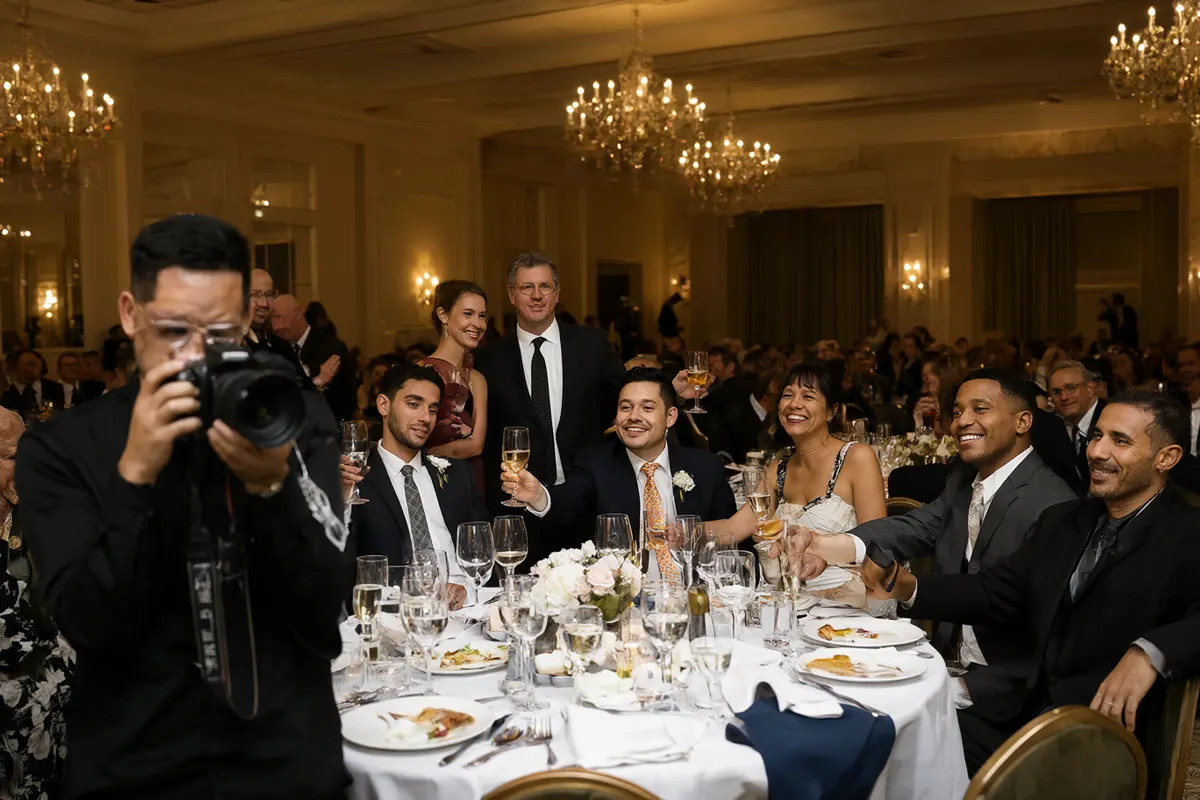
The workflow: from camera to a print in the guest's hand
- The photographer shoots with their own camera while walking the room.
- Photos land in one folder on the Q-Booth PC, through the camera's tethering software, a Wi-Fi memory card or a shared network folder.
- Automation Studio picks up each new photo and runs it through your template: event frame, sponsor overlay, collage, even an AI look or face swap.
- The result prints automatically at the print station, uploads for Web QR, and can carry a QR code on the photo for the digital copy.
- A runner delivers prints to the tables, or guests collect them at the print station.
Nobody clicks "process" photo by photo. The operator looks after the printer and keeps an eye on the queue.
What you need
| Component | Notes |
|---|---|
| Photographer's camera | Any DSLR or mirrorless body. Shoot JPG: Automation reads JPG and PNG, not RAW or HEIC. |
| Getting photos to the PC | Tethering software, a Wi-Fi memory card or a network share. What matters is that photos land in one folder on the PC. |
| A dedicated Q-Booth PC | Automation takes over the screen while it runs, so use a separate computer from your booth. |
| Printer | A dye-sublimation printer. Q-Booth can use several printers and sends each print to the least busy one. |
| Template | A Photo Studio template with the event frame, or a Collage, AI Online, AI Offline or Face Swap template. |
| Internet (optional) | Only for Web QR and online galleries. Printing alone works offline. |
| License | Automation Studio is included in the Advanced and Pro editions. |
Setting up Automation Studio, step by step
Open Automation from the left menu and work down the left panel:
- Template → Open: choose a template From Gallery... or from a file.
- Folders: set the Source Folder (where the photographer's shots arrive) and the Result Folder (finished results). Use two different folders.
- Overlay: follow the template, or pick a custom overlay such as a sponsor logo.
- Options: turn on Auto Print Result to print every result, and Auto Upload Web QR if guests should get the digital copy.
- QR on Result: put the QR code on the photo so guests can scan it straight off the print. Web QR must be set up in Settings first.
- Timing → Delay Between Process: the pause before each photo is processed (at least 1 second). A longer delay lets you glance at each photo first.
- Press Start Automation. The badge in the top right turns green.
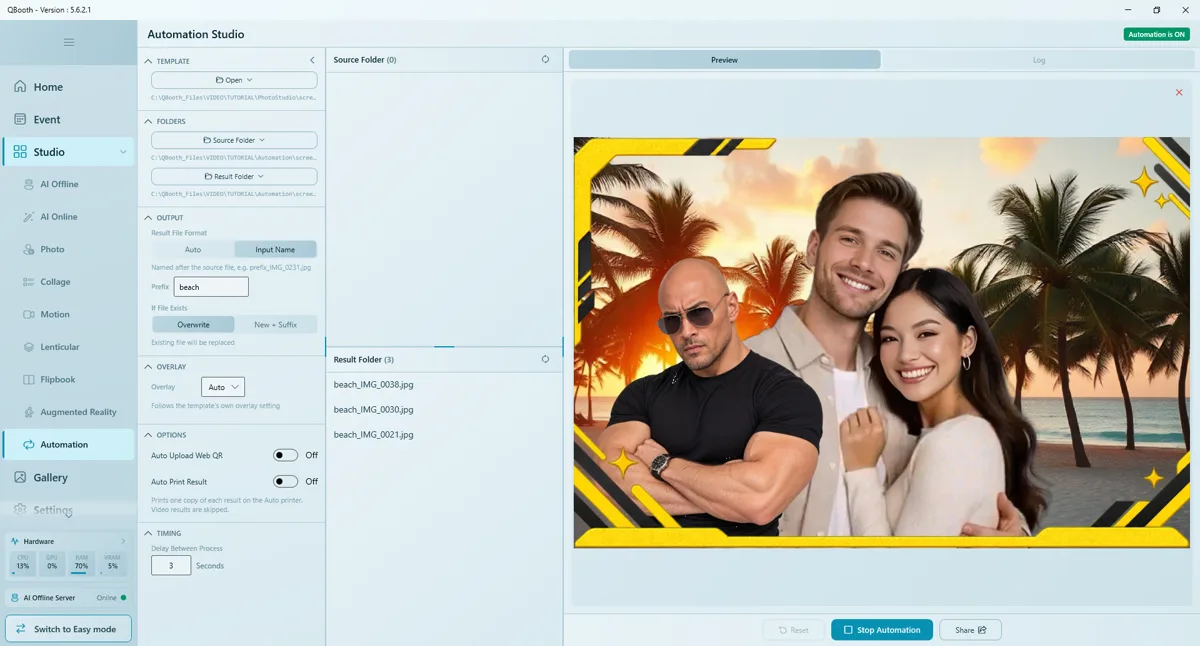
While it runs, Q-Booth checks the folder every second and works oldest first. Processed photos move to a done subfolder, failures to error, and the reason appears in the Log tab. If the PC restarts, press Start Automation again and it carries on with whatever is left.
Running the print station and deliveries
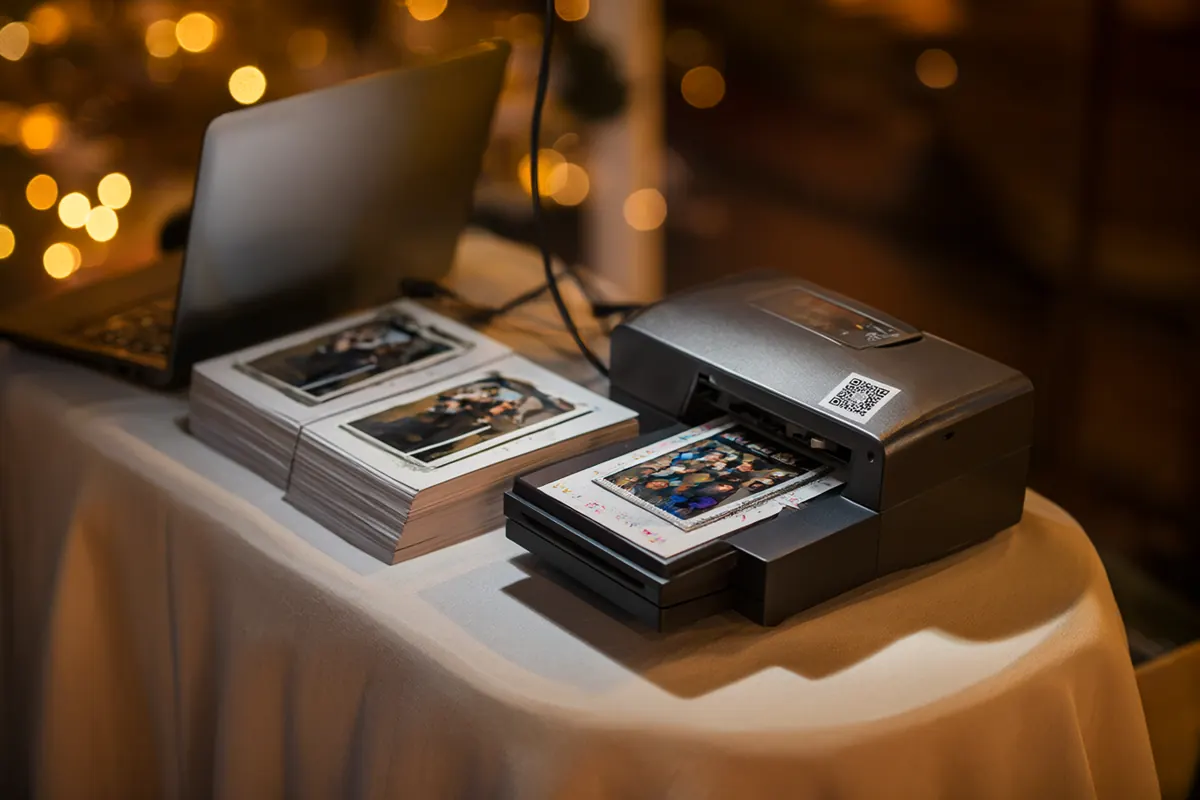
- One person runs the station: swaps media, stacks prints and watches the Log.
- A runner delivers to tables. Ask the photographer to shoot a table at a time so prints come out in order.
- Set up a print wall near the exit so anyone missed can pick up their photo.
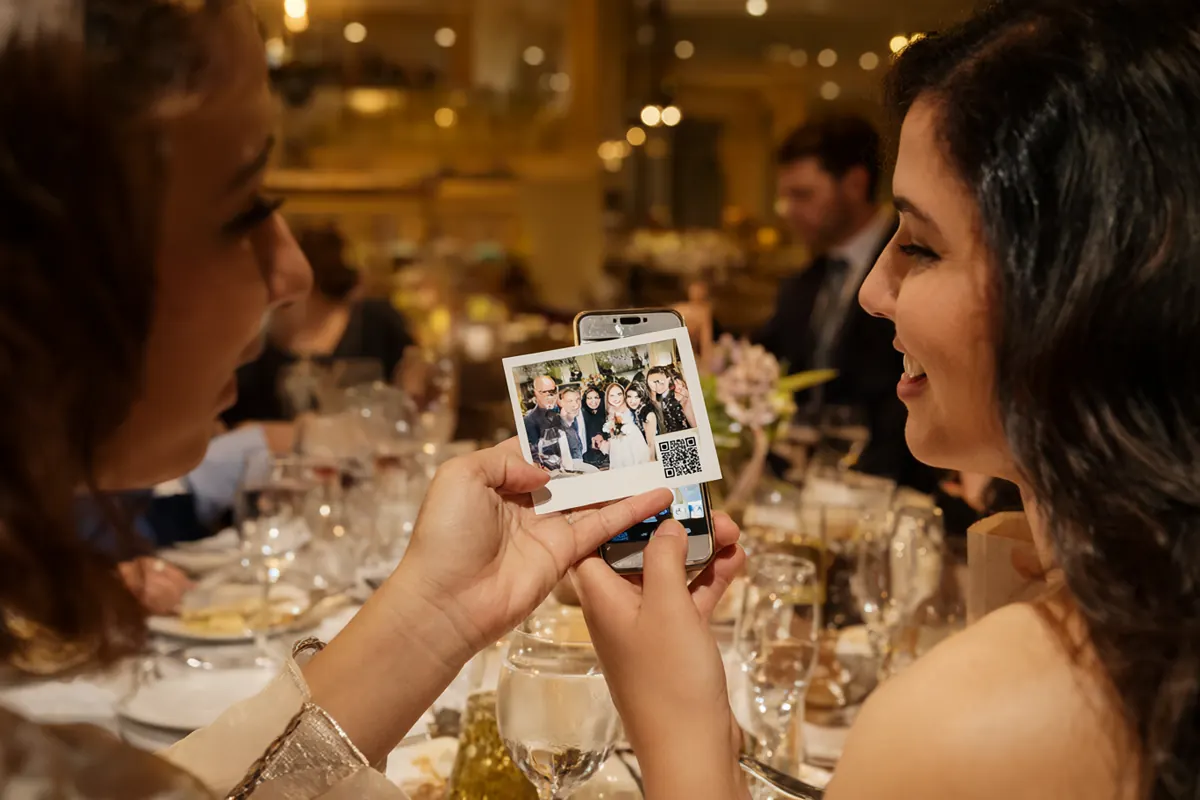
- The QR on the print means guests don't wait for files: scan, download, share.
Packages you can sell
- Roaming Photographer + Instant Prints: a set number of hours, unlimited framed prints, QR downloads.
- Table Photos for weddings: a group photo of every table, printed and delivered as a favor before dessert.
- Corporate Branding: frames with the company and sponsor logos, an online gallery for the marketing team, and a photo count afterwards.
- AI Upgrade: every candid restyled with an AI theme or face swap, ideal for themed galas.
- Booth + Roaming: both together for large events, so guests in line and guests at their tables are covered.
Tips for a smooth event
Each processed photo is moved into the done subfolder. Let Automation work on copies. Keep the originals on the camera's card or in the photographer's backup folder.
- Test with a plain Photo Studio template first. AI Online templates use AI credits for every photo, so a big folder means a big bill.
- Keep printing and uploads off while testing: prints use real media and uploads really upload.
- Don't save into subfolders: Automation only reads files directly in the Source Folder.
- Add a second printer if the photographer shoots fast.
- Watch the Log tab: every photo, print and error is listed with a timestamp.
The full guide with screenshots is in the Help Center: Automation Studio.
Frequently asked questions
Does the photographer need a specific camera?
No. Any camera works as long as its photos reach one folder on the PC as JPG or PNG, through tethering software, a Wi-Fi card or a network share.
Can I run the booth on the same PC?
Better not. While running, Automation shows its countdown and processing windows on top of the app. Use one PC for the booth and another for Automation.
How do guests get the digital copy?
Turn on Auto Upload Web QR and put a QR code on the result. Guests scan the QR printed on their photo.
Can I process photos after the event?
Yes. Drop the whole set into the Source Folder and start Automation; every photo runs through the same template.
Ready to run your own photo booth?
Q-Booth runs photo, collage, video and AI photo booths from one Windows app. Try it free before you buy.
Learn Q-Booth
Step-by-step guides and video tutorials for every kind of booth.