The Photo Booth Event Checklist: From Booking to Breakdown
A complete checklist for photo booth operators: contract and insurance, gear tests, packing list, venue load-in, running the event, troubleshooting and follow-up.
Also available in: Bahasa Indonesia · 中文
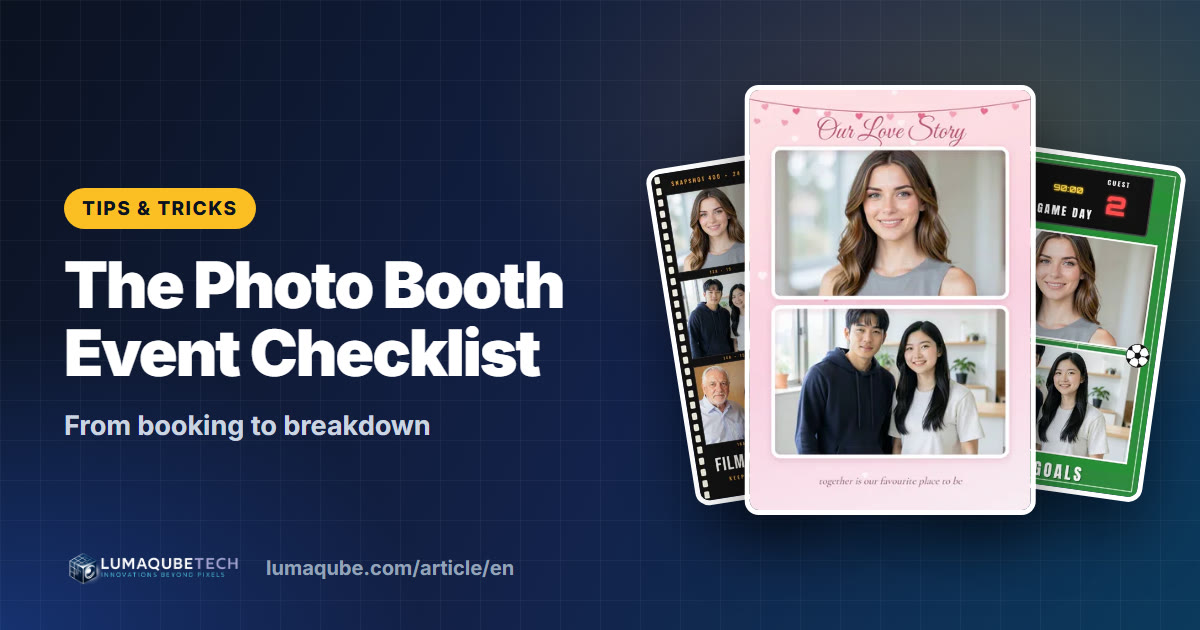
Most photo booth disasters are decided before the first guest walks up: a forgotten cable, an empty ribbon, a venue that wanted your insurance certificate last week. Use this photo booth event checklist, from booking to breakdown, to make every event run smoothly. Print it and tick it off as you go.
When the event is booked
- Contract signed and retainer received.
- Event date, start and end time of the booth, and the booth's exact spot at the venue agreed in writing.
- Client contact for the day and the venue coordinator's name and number noted.
- Venue requirements checked: certificate of insurance (COI), load-in window, loading dock or elevator, parking.
- Power confirmed: an outlet within reach of the booth, ideally on its own circuit.
- Wi-Fi details requested if you'll share photos online during the event.
Two weeks before
- Print design sent and approved (names, date, logo, colours).
- COI sent to the venue if requested.
- Balance invoice sent, due date confirmed.
- Attendant booked and briefed on the timeline and dress code.
- Themed props or a custom backdrop ordered.
Two or three days before: test everything
Set the booth up at home or in your studio and run it exactly as you will on the day.
- Camera: batteries charged (plus spares), card formatted, sensor and lens clean.
- Computer: software and Windows updates done, nothing waiting to restart mid-event.
- Run the event end to end with the final design: countdown, result, print and QR download.
- Print test sheets to check colour, sharpness and layout.
- Printer: enough media for the expected number of prints, plus a spare roll.
- Lights, triggers and stands working.
- Cables, extension cords, power strip and gaffer tape packed.
Also follow the event checklist in the Help Center. It covers the software steps the day before and at the venue: building and testing the event, checking the printer, camera, QR sharing and AI, and locking the booth.
The day before: pack
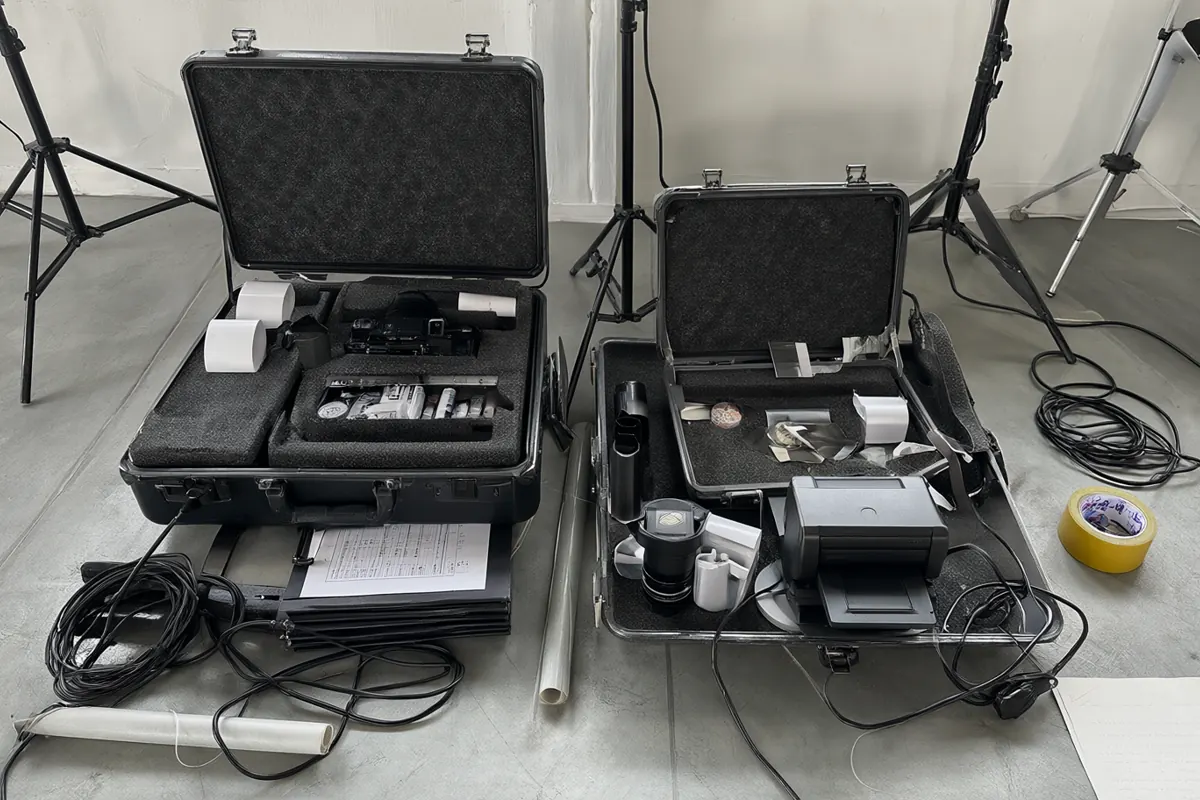
- Pack every item in its own case or bag.
- Tick off your packing list: camera, lens, batteries and charger, cards, laptop and charger, printer, media, lights, stands, tripod, backdrop and frame, props, USB cables (plus spares), power cables, extension cords, gaffer tape, cleaning cloths, sanitizer for props.
- Backdrop and props clean and undamaged.
- Arrival time reconfirmed with the venue and the client.
- Route and travel time checked, with a buffer for traffic.
At the venue: load-in and setup
Check in with the coordinator, then look over your spot:
- Power: safe, close, and not shared with the DJ's sound system or catering equipment if you can avoid it.
- Space: room for the backdrop, the gear, a guest line and the attendant.
- Light: avoid stage lights and direct sun behind the backdrop.
- Traffic: visible and easy to reach, but out of fire exits and main walkways.
- Safety: cables taped down, stands sandbagged, nothing near drinks.
Then set up in this order:
- Backdrop and frame.
- Table for the computer and printer.
- Tripod and camera.
- Lights and softboxes.
- Cables, routed and taped so nobody trips.
- Power everything on, start the software, and set ISO, aperture and shutter speed for the room.
- Take test shots and print one: check focus, exposure, framing and the print.
- Test the QR download with a phone on the venue's network. It is never the same as your home Wi-Fi.
- Lay out the props neatly.
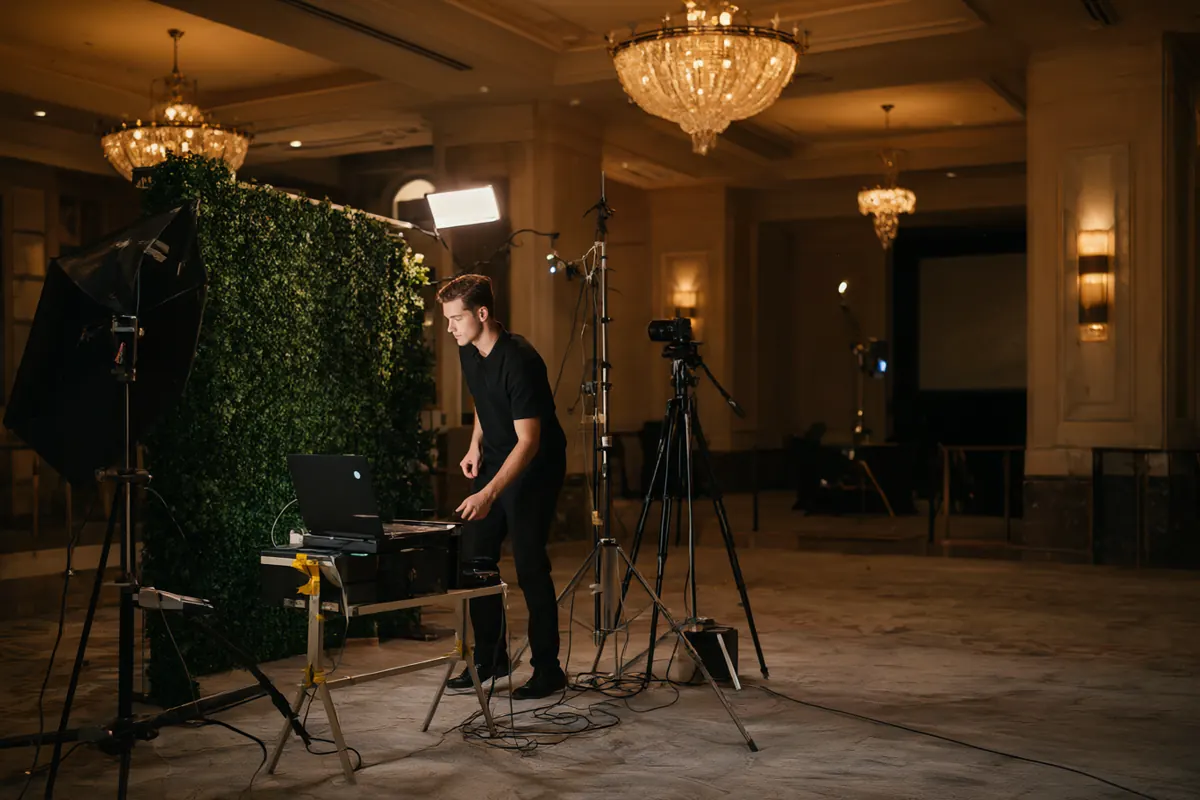
Aim to be completely ready 30 minutes before the booth opens, so there is time to fix surprises calmly.
During the event
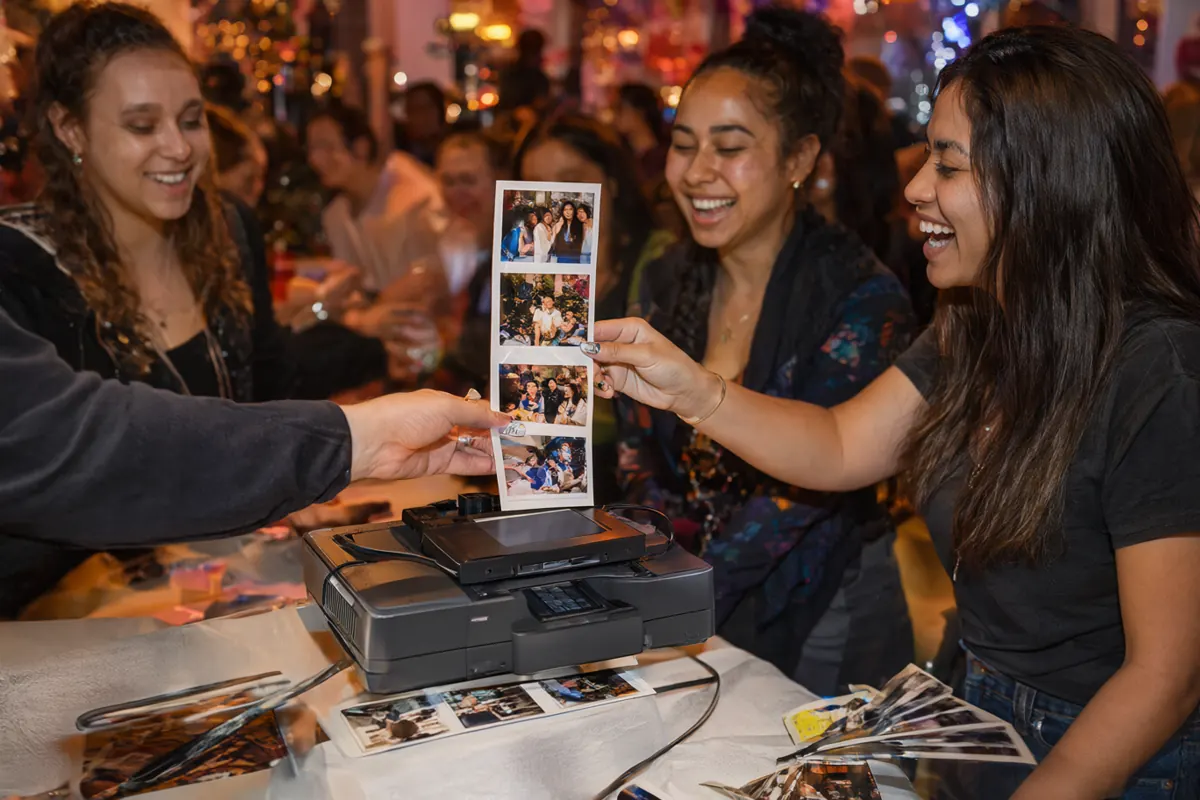
- Greet every group and give first-timers a ten-second explanation.
- Guide, don't direct: suggest props and poses when people hesitate, then let them have fun.
- Explain the rules politely: how many shots per session, how many prints.
- Manage the line and give a rough wait time at busy moments, like right after dinner.
- Check quality regularly: glance at the screen and the first print of every few sessions.
- Keep the area tidy: put props back, clear away paper scraps, wipe props that get a lot of use.
Common problems and quick fixes
| Problem | Try this first |
|---|---|
| Printer jammed or showing an error | Power-cycle the printer, check the media and ribbon are seated, then reprint. |
| Camera not detected | Check the USB cable and battery, turn off auto power-off, reconnect or restart the software. |
| Photos too dark or too bright | Check lights and triggers, then adjust ISO, aperture or shutter speed. |
| Guests can't open the QR link | Check the booth's internet. If the venue Wi-Fi is weak, switch to a local QR that serves photos over the booth's own Wi-Fi with no internet. |
| Lights won't fire | Check power, the outlet and the trigger batteries. |
Always carry spares of the small things that fail most: batteries, memory cards and USB cables. Q-Booth users can read the full troubleshooting guide or message our support team on WhatsApp.
Breakdown: fast but careful
- Confirm with the client or coordinator that the booth time is over, and thank them.
- Shut everything down properly before unplugging.
- Break down in reverse order, or whatever order keeps the gear safest.
- Sweep the area for small items: USB cables, triggers, cards, screws, props.
- Pack everything securely for the trip home.
After the event: back up, deliver, follow up
- Back up every photo to a computer and an external drive that night.
- Remove failed shots and make light edits if needed.
- Send the gallery or files to the client when promised, for example within 24 hours.
- A few days later, say thank you and ask for a review on Google or the wedding directory where they found you.
- Record the event's income and costs.
- Note what went well and what to change next time.
With Q-Booth, the event report shows the number of sessions and other statistics, which corporate clients often appreciate after the event.
Ready to run your own photo booth?
Q-Booth runs photo, collage, video and AI photo booths from one Windows app. Try it free before you buy.
Learn Q-Booth
Step-by-step guides and video tutorials for every kind of booth.